Keeping readers hooked on your blog is a challenge in today’s fast-paced online world. Adding a page scroll progress bar in Blogger can make a big difference.
This simple tool shows readers how far they’ve scrolled, encouraging them to stick around.
In this article, you’ll discover what a scroll progress bar is, why it’s great for your Blogger site, and how to set it up step-by-step.
What is a Page Scroll Progress Bar?
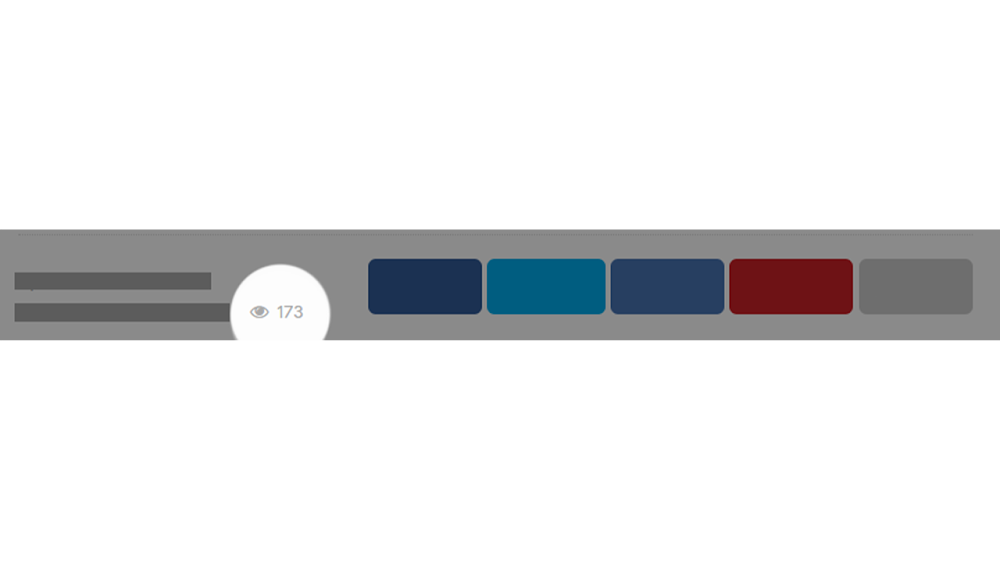
A page scroll progress bar is a visual cue for readers. It appears as a thin line—usually at the top or bottom of the page—that fills up as they scroll.
This feature is perfect for long posts, helping users track their progress. It’s a small tweak that can make your blog feel more interactive.
Why Add a Scroll Progress Bar to Blogger?
A scroll progress bar offers real benefits for your blog. It keeps readers engaged by showing them how much content is left.
It also gives your site a modern, polished look. Plus, it can lower bounce rates, which might boost your SEO over time.
Benefits of a Page Scroll Progress Bar
Improved User Experience
Readers love knowing where they are in a post. A progress bar provides that clarity. It’s especially helpful for detailed tutorials or in-depth articles.
Increased Time on Page
When readers see a progress bar, they’re more likely to keep scrolling. This can increase the time they spend on your site.
Search engines often reward pages that hold attention longer.
A Modern Blog Aesthetic
A sleek progress bar adds a professional touch. It signals that you care about design and usability.
This can make your blog stand out from the crowd.
How to Add a Page Scroll Progress Bar in Blogger
Adding a page scroll progress bar in Blogger is easier than you might think. You don’t need to be a coding expert. Just follow these steps to get it working.
Step 1: Access Your Blogger Theme
Log in to your Blogger account. Go to the “Theme” section in the dashboard. Click “Edit HTML” to open the code editor.
Step 2: Add the CSS Code
CSS styles the look of your progress bar. Copy this code and paste it into the HTML editor, just above the </style> tag:
.progress-container {
  width: 100%;
  position: fixed;
  top: 0;
  left: 0;
  z-index: 99;
}
.progress-bar {
  height: 5px;
  background: #F86152;
  width: 0%;
}
Or
.progress {
        background: linear-gradient(to right, #fc801c var(--scroll), transparent 0);
        background-repeat: no-repeat;
        position: fixed;
        top: 0;
        left: 0;
        width: 100%;
        height: 4px;
        z-index: 1;
        animation: background 0.5s;
    }
This creates a red bar at the top of your page.
Step 3: Insert the JavaScript Code
JavaScript makes the bar move as readers scroll. Add this code just before the </body> tag:
<script>
window.onscroll = function() { myFunction() };
function myFunction() {
  var winScroll = document.body.scrollTop || document.documentElement.scrollTop;
  var height = document.documentElement.scrollHeight - document.documentElement.clientHeight;
  var scrolled = (winScroll / height) * 100;
  document.getElementById("myBar").style.width = scrolled + "%";
}
</script>
OR
<script>
    var h = document.documentElement,
        b = document.body,
        st = "scrollTop",
        sh = "scrollHeight",
        progress = document.querySelector(".progress"),
        scroll;
    document.addEventListener(
        "scroll",
        function () {
            scroll = ((h[st] || b[st]) / ((h[sh] || b[sh]) - h.clientHeight)) * 100;
            progress.style.setProperty("--scroll", scroll + "%");
        },
        {
            passive: true,
        }
    );
</script>
This calculates the scroll position and updates the bar.
Step 4: Add the HTML Structure
Now, place the progress bar on your page. Insert this HTML just below the <body> tag:
<div class='progress-container'>
  <div class='progress-bar' id='myBar'></div>
</div>
OR
<div class="progress"></div>Step 5: Save and Test
Click “Save” to update your theme. Open a blog post to see the progress bar in action. Scroll down to watch it fill up.
Customizing Your Page Scroll Progress Bar
Make the progress bar match your blog’s style. Adjust the background color in the CSS to something like #00A1D6 for blue.
Change the height value to 8px for a thicker bar. Test different looks to find the perfect fit.
Why This Matters for SEO
A scroll progress bar isn’t just about looks—it can help your rankings. By keeping readers on your page longer, it signals quality to search engines.
Lower bounce rates and higher engagement can lift your blog’s visibility. It’s a small change with a big impact.
Want more Blogger tips? Check out our guide on optimizing your blog for better rankings.
Common Mistakes to Avoid
Overloading the Code
Keep it simple—don’t add unnecessary features. Complex code can slow your site down. Stick to the basics for the best results.
Forgetting Mobile Users
Most readers browse on phones, so test the bar on mobile. Ensure it doesn’t overlap content or look awkward. A responsive design is key.
Ignoring Design Harmony
A clashing progress bar can hurt your blog’s appeal. Pick colors that blend with your theme. Consistency keeps readers comfortable.
Tools to Enhance Your Progress Bar
You can take your progress bar further with extras. Use Google Fonts to style text around it. Try Coolors to find matching colors. These tools make customization a breeze.
Real-World Examples
Look at popular sites like Medium. They use progress bars to keep readers engaged. Blogger can mimic this with the steps above. It’s a proven tactic for long-form content.
FAQs About Page Scroll Progress Bars in Blogger
What is a Page Scroll Progress Bar in Blogger?
It’s a visual tool that shows how far readers have scrolled. It appears as a filling bar on the screen. This keeps users engaged with your content.
Does a Scroll Progress Bar Affect Loading Speed?
Not significantly—it’s lightweight code. The CSS and JavaScript are minimal. Just avoid adding heavy extras that could slow things down.
Can I Use Plugins Instead of Code?
Blogger doesn’t support plugins like WordPress. Manual coding is the best option here. Luckily, the process is quick and simple.
Troubleshooting Tips
If the bar doesn’t show, check your code placement. Ensure the JavaScript is before </body> and the HTML is after <body>. Clear your browser cache if changes don’t appear. Test on multiple devices to confirm it works.
Conclusion
A page scroll progress bar in Blogger is a game-changer for engagement. It’s easy to add, looks great, and keeps readers scrolling.
Follow this guide to set it up and customize it to your liking. Your blog will feel more interactive and professional in no time.